Deploying MinIO Cluster
In this guide, you will learn how to deploy a MinIO cluster on Kubernetes using a Helm Chart.
Prerequisites
Configuration Management
Before installation, you need to create a minio-values.yaml configuration file. Please adjust the following configuration according to your Kubernetes environment:
global:
  security:
    allowInsecureImages: true

image:
  registry: docker.io
  repository: greptime/minio
  tag: 2025.4.22-debian-12-r1

auth:
  rootUser: greptimedbadmin
  rootPassword: "greptimedbadmin"

resources:
  requests:
    cpu: 500m
    memory: 500Mi
  limits:
    cpu: '2'
    memory: 2Gi

extraEnvVars:
  - name: MINIO_REGION
    value: "ap-southeast-1"

statefulset:
  replicaCount: 4

mode: distributed

persistence:
  storageClass: null
  size: 100Gi
Installing MinIO Cluster
Install the MinIO cluster in the minio namespace:
helm upgrade \
  --install minio oci://registry-1.docker.io/bitnamicharts/minio \
  --create-namespace \
  --version 16.0.10 \
  -n minio --values minio-values.yaml
Expected Output
Release "minio" does not exist. Installing it now.
Pulled: greptime-registry.cn-hangzhou.cr.aliyuncs.com/charts/minio:16.0.10
Digest: sha256:96e220fd7cf1596879a243453b39c96a95d34f0005fdd452da3d094a7b386eb4
NAME: minio
LAST DEPLOYED: Tue May 12 17:21:30 2026
NAMESPACE: minio
STATUS: deployed
REVISION: 1
TEST SUITE: None
NOTES:
CHART NAME: minio
CHART VERSION: 16.0.10
APP VERSION: 2025.4.22

Did you know there are enterprise versions of the Bitnami catalog? For enhanced secure software supply chain features, unlimited pulls from Docker, LTS support, or application customization, see Bitnami Premium or Tanzu Application Catalog. See https://www.arrow.com/globalecs/na/vendors/bitnami for more information.

** Please be patient while the chart is being deployed **

MinIO® can be accessed via port  on the following DNS name from within your cluster:

minio.minio.svc.cluster.local

To get your credentials run:

export ROOT_USER=$(kubectl get secret --namespace minio minio -o jsonpath="{.data.root-user}" | base64 -d)
export ROOT_PASSWORD=$(kubectl get secret --namespace minio minio -o jsonpath="{.data.root-password}" | base64 -d)

To connect to your MinIO® server using a client:

- Run a MinIO® Client pod and append the desired command (e.g. 'admin info'):

  kubectl run --namespace minio minio-client \
  --rm --tty -i --restart='Never' \
  --env MINIO_SERVER_ROOT_USER=$ROOT_USER \
  --env MINIO_SERVER_ROOT_PASSWORD=$ROOT_PASSWORD \
  --env MINIO_SERVER_HOST=minio \
  --image docker.io/bitnami/minio-client:2025.4.16-debian-12-r1 -- admin info minio

To access the MinIO® web UI:

- Get the MinIO® URL:

  echo "MinIO® web URL: http://127.0.0.1:9001/minio"
  kubectl port-forward --namespace minio svc/minio 9001:9001

Substituted images detected:
- greptime-registry.cn-hangzhou.cr.aliyuncs.com/greptime/minio:2025.4.22-debian-12-r1
Verifying MinIO Cluster Installation
Check the status of MinIO Pods:
kubectl get pod -n minio
Expected Output
NAME      READY   STATUS    RESTARTS   AGE
minio-0   1/1     Running   0          30s
minio-1   1/1     Running   0          30s
minio-2   1/1     Running   0          30s
minio-3   1/1     Running   0          30s
Creating Bucket and Access Key
Accessing MinIO Console
- First, expose the MinIO console service. You can use the kubectl port-forward command:
kubectl port-forward -n minio svc/minio 9001:9001
-
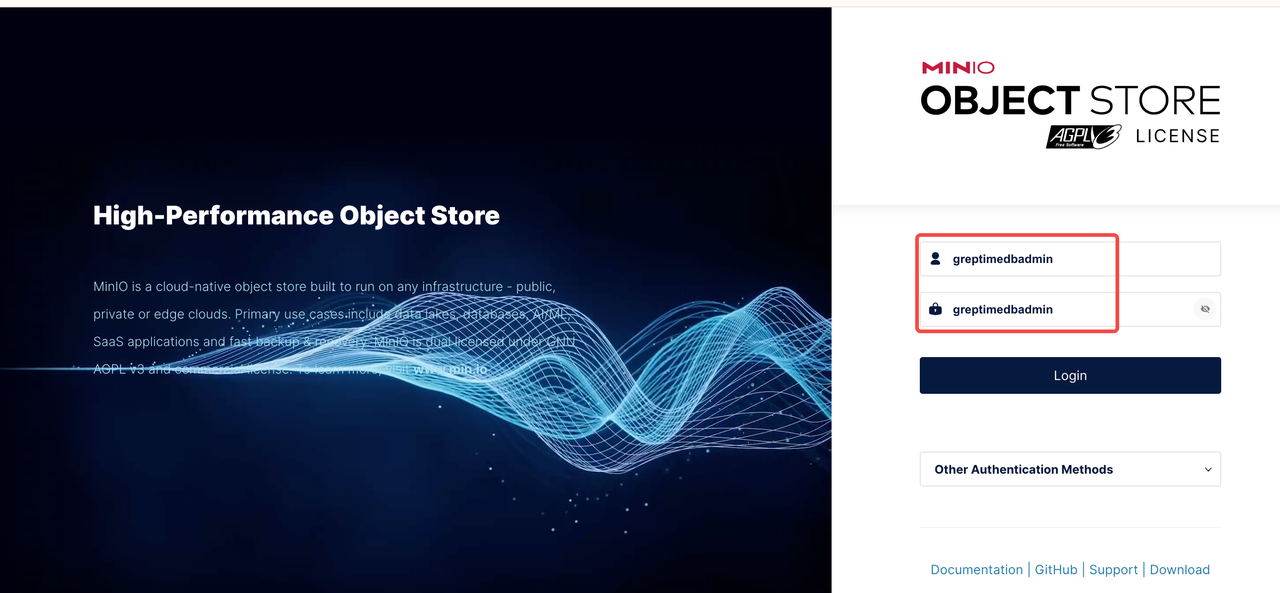
Open your browser: http://localhost:9001/login
-
Log in using the credentials set in the configuration file:
- username:
greptimedbadmin - password:
greptimedbadmin
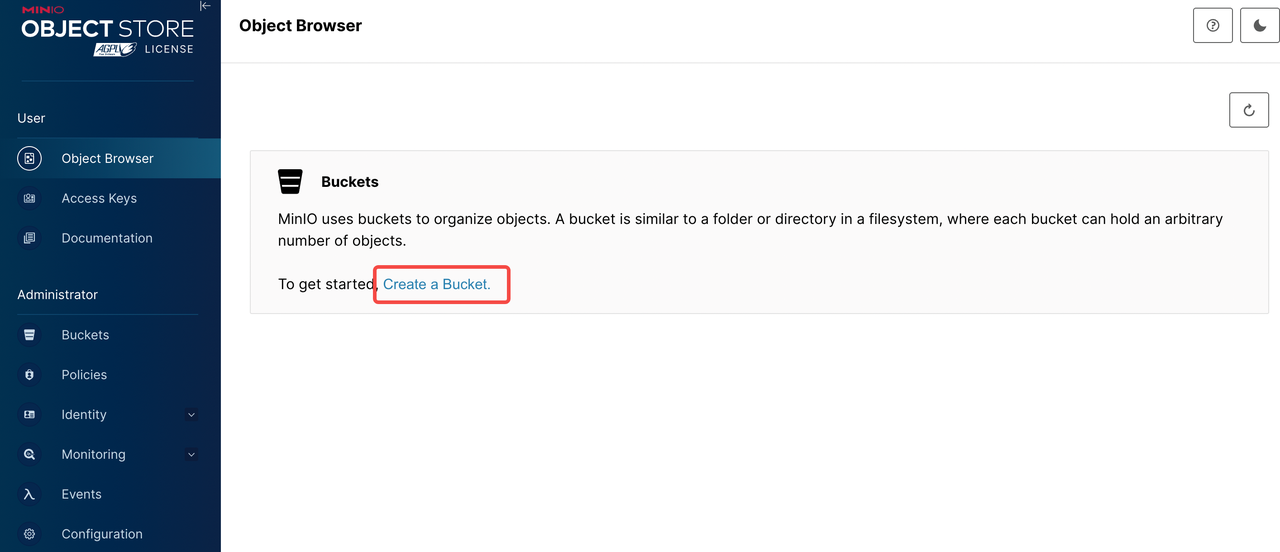
Creating a Bucket
After logging into the MinIO console, follow these steps to create a Bucket:
- Click "Buckets" in the left sidebar
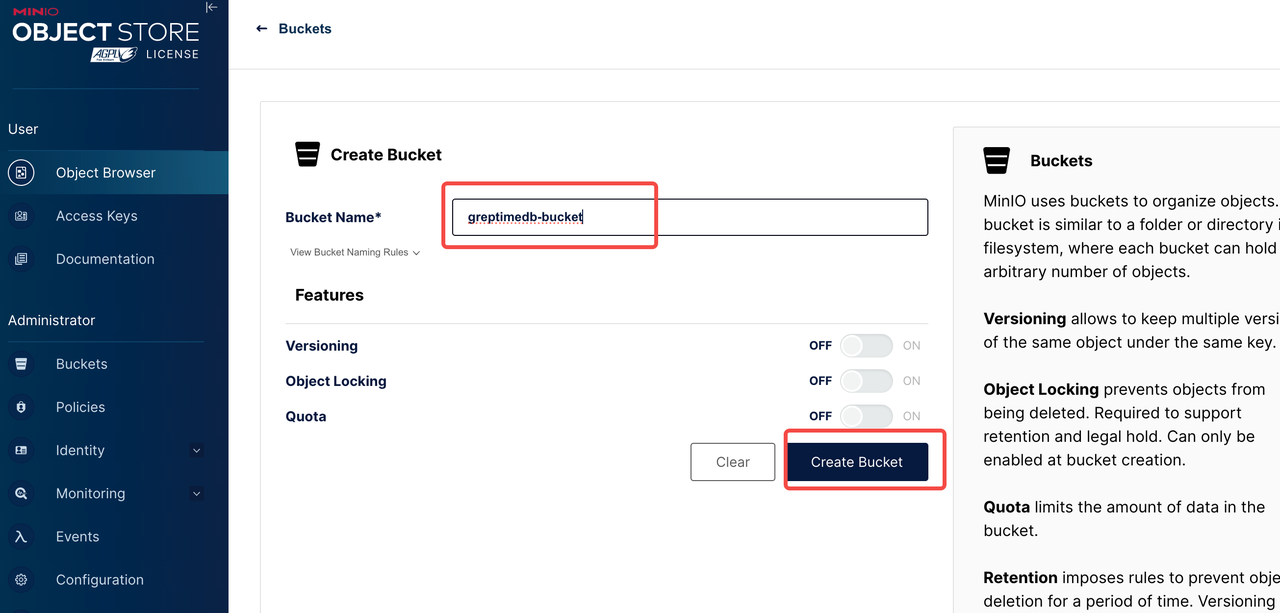
- Click the "Create Bucket" button
- Enter a Bucket name, for example:
greptimedb-bucket - Click "Create Bucket" to confirm creation
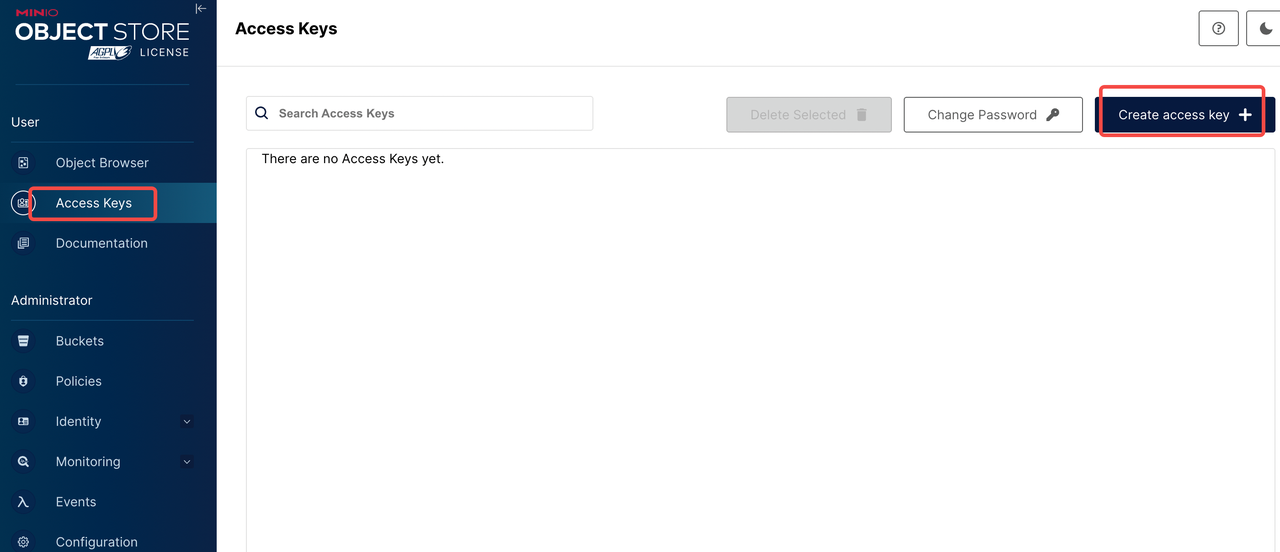
Generating Access Key
- Click "Access Keys" in the left sidebar
- Click the "Create Access Key" button
- Optional: Set permission policies
- Click "Create" to generate the Access Key and Secret Key
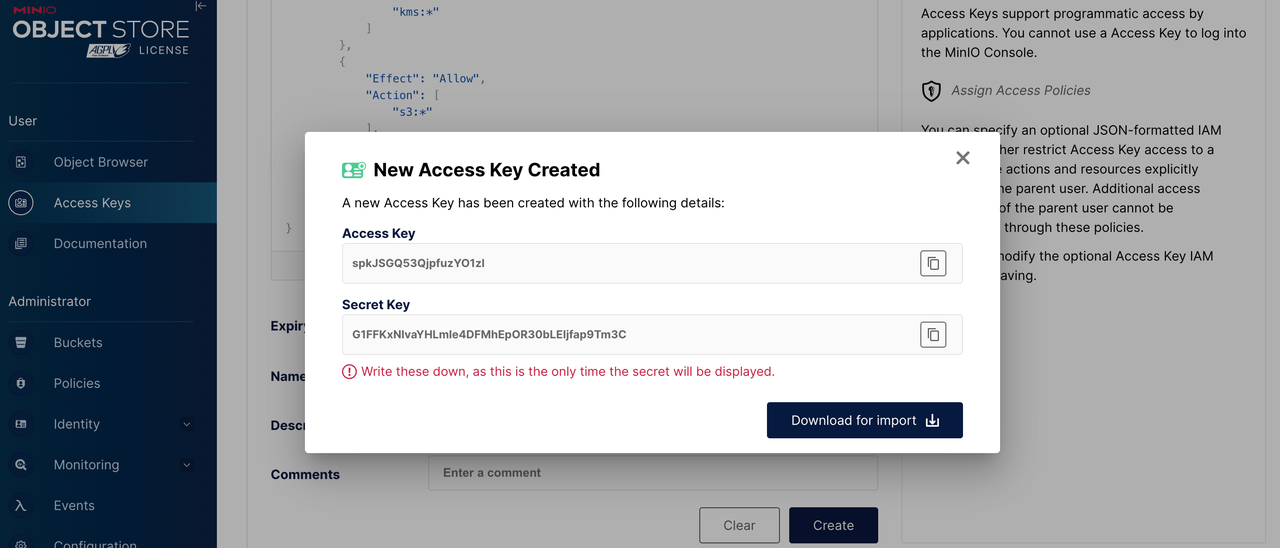
⚠️ Important: Please save the following information securely. You will need it when deploying GreptimeDB.
- Bucket name:greptimedb-bucket
- Region:ap-southeast-1
- MinIO Endpoint:
http://minio.minio:9000 - Access Key:The Access Key
- Secret Key:The Secret Key
Configuring GreptimeDB to Use MinIO
When deploying a GreptimeDB cluster, you can use MinIO as backend storage with the following configuration:
objectStorage:
  credentials:
    accessKeyId: "<your-access-key>"
    secretAccessKey: "<your-secret-key>"
  s3:
    bucket: "greptimedb-bucket"
    region: "ap-southeast-1"
    root: "greptimedb-data"
    endpoint: "http://minio.minio:9000"
Monitoring
- Install Prometheus Operator (e.g: kube-prometheus-stack)。
- Install podmonitor CRD。
To monitor the MinIO cluster, you need to have a monitoring system (such as Prometheus and Grafana) deployed in advance. Then add the following content to minio-values.yaml and re-run the command to update the MinIO configuration:
metrics:
  enabled: true
  serviceMonitor:
    enabled: true
    namespace: minio
    labels:
      release: kube-prometheus-stack
    interval: 30s
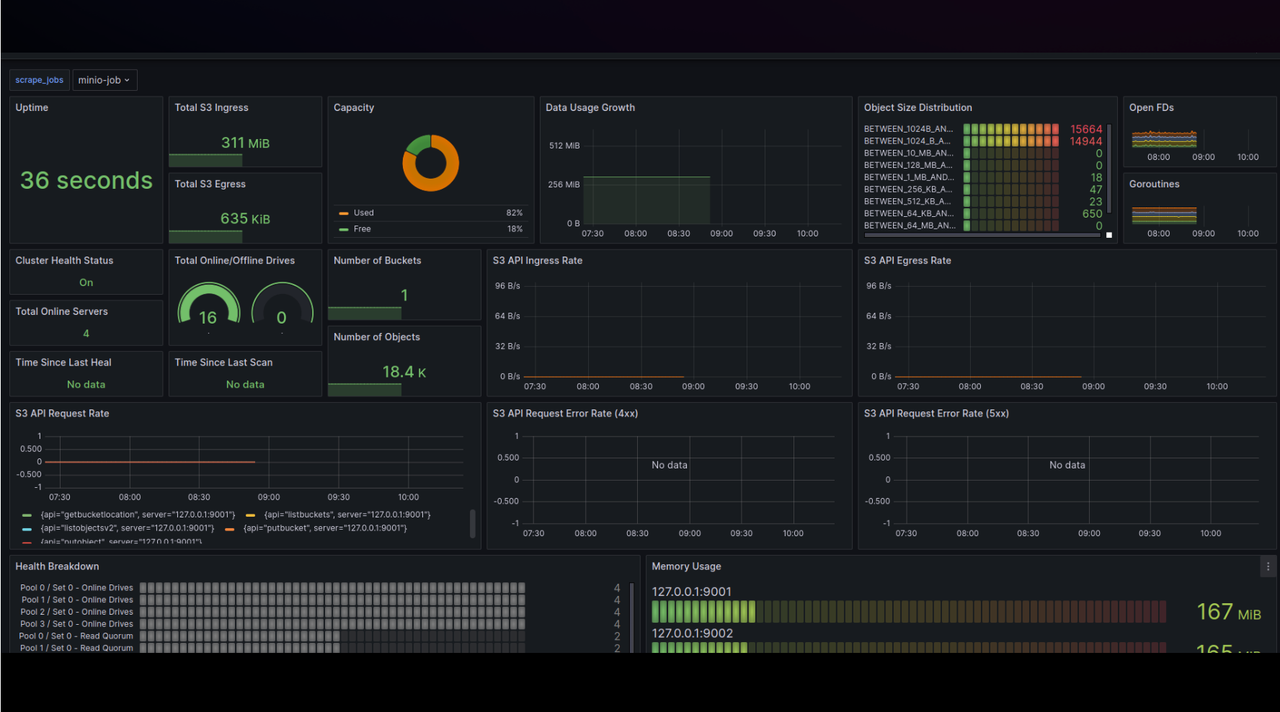
Grafana dashboard
Use the MinIO Dashboard (ID: 13502) to monitor MinIO metrics.
- Log in to your Grafana.
- Navigate to Dashboards -> New -> Import.
- Enter Dashboard ID: 13502, select a data source, and load the dashboard.
Uninstalling MinIO Cluster
Use the following command to uninstall the MinIO cluster:
helm -n minio uninstall minio
Deleting PVCs
Deleting PVCs will remove persistent data from the MinIO cluster. Please ensure you have backed up your data before proceeding.
kubectl -n minio delete pvc -l app.kubernetes.io/instance=minio